
Welcome to the Coleman RoadTrip Grill Manual, your comprehensive guide to mastering this portable, versatile grill. Learn setup, operation, and maintenance tips to ensure optimal performance and longevity.
Overview of the Coleman RoadTrip Grill
The Coleman RoadTrip Grill is a portable, versatile cooking solution designed for outdoor enthusiasts. Its compact design makes it ideal for camping, tailgating, or backyard use. The grill features a sturdy construction with a reliable ignition system and adjustable burners for precise temperature control.
With a 20,000 BTU/hr output, it offers efficient cooking power, lasting about an hour on high with a 1 lb propane bottle. Users appreciate its ease of use and portability, though some note issues with lid alignment and build quality. Proper setup and maintenance are crucial for optimal performance and longevity.

Importance of the Manual for Proper Usage
The Coleman RoadTrip Grill Manual is essential for understanding your grill’s components, safety precautions, and operational guidelines. It provides step-by-step instructions for assembly, maintenance, and troubleshooting, ensuring safe and efficient use. By following the manual, you can avoid common issues like lid misalignment or ignition malfunctions, which users have reported as potential problems. The manual also offers tips for maximizing performance, such as optimizing heat distribution and properly storing the grill. Regular maintenance, as outlined, helps extend the grill’s lifespan. Whether you’re a novice or experienced griller, the manual serves as a vital resource for getting the most out of your Coleman RoadTrip Grill.
Unboxing and Initial Setup
Unboxing the Coleman RoadTrip Grill involves carefully opening the box, inventorying all parts, and following the assembly guide. Positioning the grill on a stable, flat surface is essential for safe operation and even heat distribution. Ensure all components are securely connected before first use.

Unboxing the Coleman RoadTrip Grill
Unboxing the Coleman RoadTrip Grill is an exciting first step. Carefully open the box and inspect all contents. Verify the inventory list to ensure all parts, including the grill body, burner, drip trays, and hardware, are included. Check for any visible damage or missing items. Lay out the components on a clean, flat surface to organize them before assembly. Remove all packaging materials and protective coverings to prepare for setup. This step ensures you have everything needed for proper assembly and helps prevent delays. Always refer to the manual for specific guidance on handling and preparing the grill for its initial use.
Assembling the Grill: Step-by-Step Guide
Assembling the Coleman RoadTrip Grill requires careful attention to detail. Begin by attaching the legs and handles to the grill body using the provided bolts and Allen wrench. Ensure all connections are secure and tightened evenly. Next, install the burner assembly by aligning it with the mounting brackets and fastening it with screws. Attach the heat shields to protect the burners from drips. Then, place the cooking grates onto the grill, ensuring they are properly locked into position. Follow the manual’s torque specifications for all bolts to avoid over-tightening. Finally, connect the propane hose to the regulator and test for leaks. Refer to the manual for diagrams and troubleshooting if needed.
Positioning the Grill for Optimal Use
Positioning the Coleman RoadTrip Grill correctly is crucial for safe and efficient operation. Place the grill on a stable, flat surface to ensure even cooking and prevent tipping. Keep it at least 10 feet away from flammable materials like curtains, leaves, or wooden structures. Avoid direct sunlight to maintain consistent heat and avoid overheating. Position the grill so that the wind is at your back to minimize smoke interference; Place it under a gazebo or tree for shade, ensuring the area remains fire-safe. Keep children and pets at a safe distance. Finally, ensure easy access to a water source or fire extinguisher for emergencies. Proper positioning enhances both safety and cooking performance.

Understanding the Components
The Coleman RoadTrip Grill features a durable design with essential components like burners, cooking surfaces, and a lid for heat retention. The drip trays and heat shields help manage grease and distribute heat evenly, while the propane tank and ignition system ensure reliable operation. These elements work together to provide a versatile and efficient grilling experience.
Key Features of the Coleman RoadTrip Grill
The Coleman RoadTrip Grill is designed for portability and performance, featuring a foldable design with wheels for easy transport. Its instant-start ignition ensures quick and reliable lighting, while the adjustable burners allow for precise heat control. The grill includes a durable steel construction with a porcelain-coated cooking surface for even heat distribution and easy cleaning. Additional features like side tables provide convenient workspace, and the compact size makes it ideal for camping, tailgating, or small backyard gatherings. These features combine to deliver a versatile and efficient grilling experience, perfect for outdoor enthusiasts.
Identifying the Burners, Drip Trays, and Heat Shields
Your Coleman RoadTrip Grill features essential components designed for efficient grilling. The burners, typically made of durable materials like stainless steel, are located at the base and produce heat when propane is ignited. Above the burners are heat shields, which distribute heat evenly and protect the burners from residue. Beneath the burners are drip trays that catch grease and drippings, simplifying cleanup. These components work together to enhance your grilling experience, ensuring consistent heat and minimizing maintenance. Regular inspection of these parts is crucial for optimal performance and safety.
Controls and Knobs: Functions and Adjustments
The Coleman RoadTrip Grill features intuitive controls and knobs designed for precise heat management. The ignition knob activates the burners with a simple turn and press, while the adjustment knobs allow you to regulate heat levels for each burner independently. Typically, there are three burners, each with its own control knob, enabling zone cooking. To adjust heat, turn the knobs clockwise for lower settings or counterclockwise for higher heat. Always preheat the grill on high for 10-15 minutes before cooking. Proper use of the controls ensures even cooking and prevents overheating. Regularly clean the knobs to maintain responsiveness and longevity. This system provides flexibility for various grilling techniques and meal sizes.
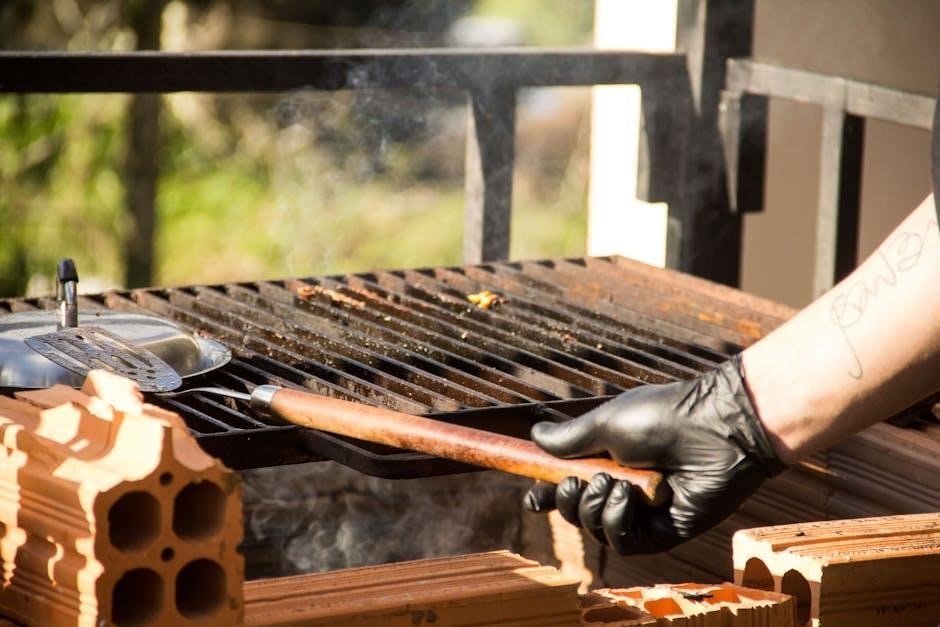
Operating the Grill
Preheat the grill on high for 10-15 minutes. Adjust burners for desired heat. Monitor temperature for consistent cooking. Always keep the lid closed while preheating.
Connecting the Propane Tank
To connect the propane tank, first ensure the grill and tank are turned off. Attach the regulator to the tank’s valve, tightening it securely by hand. Next, connect the other end of the hose to the grill’s propane inlet, ensuring a snug fit. Turn the tank slowly to check for leaks using a soapy water solution—bubbles indicate a leak. If no leaks are found, turn the tank valve counterclockwise to open. Always store the propane tank upright and outside in a well-ventilated area. Follow these steps carefully to ensure safe and proper connection, avoiding any potential hazards during grilling operations.
Lighting the Burners: Safety Precautions
Before lighting the burners, ensure the propane tank is properly connected and all knobs are in the “OFF” position. Open the grill lid to prevent gas buildup. Turn the knob to “LIGHT” and press the igniter button. If it doesn’t light, wait 5 minutes before retrying to avoid gas accumulation. Never use matches or lighters, as this can be hazardous. Always light the burners with the lid open and ensure the area is well-ventilated. If the flame goes out, turn all knobs to “OFF” and wait 5 minutes before relighting. Keep children and flammable materials away while lighting or adjusting the burners. These precautions ensure safe and efficient ignition of the Coleman RoadTrip Grill.
Adjusting Heat Settings for Different Cooking Needs
Adjusting the heat settings on the Coleman RoadTrip Grill is straightforward and essential for achieving optimal cooking results. Use the burner knobs to control the flame height and heat output. For high-heat tasks like searing, turn the knobs to the “HIGH” position. For simmering or low-heat cooking, set the knobs to “LOW.” Preheat the grill with the lid closed for 5-10 minutes before cooking to ensure even heat distribution. To achieve precise temperature control, adjust the knobs gradually while monitoring the heat with a thermometer if needed. For multi-zone cooking, use the dual burners to create different heat zones, allowing you to cook various foods simultaneously with tailored heat levels. Proper heat adjustment ensures efficient cooking and prevents overcooking or undercooking your dishes.
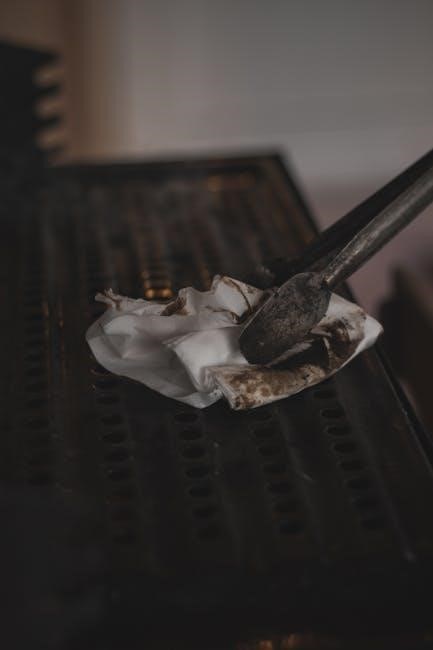
Cleaning and Maintenance
Regular cleaning and maintenance are crucial for the longevity and performance of your Coleman RoadTrip Grill. Always ensure the grill is cool before cleaning to avoid burns. Use a wire brush to remove food residue from grates. For tougher stains, mix mild soap with warm water and apply with a soft sponge. Avoid abrasive cleaners to prevent damage to the finish. After cleaning, rinse thoroughly and dry to prevent rust. Check for rust or corrosion and treat promptly with a rust-inhibiting spray. Lubricate moving parts like hinges with silicone spray to maintain smooth operation. Store the grill in a dry, protected area, preferably with a waterproof cover, to shield it from the elements. Consistent maintenance ensures optimal grilling experiences for years to come.
Pre-Cleaning Preparations: Safety Tips
Before cleaning your Coleman RoadTrip Grill, ensure all safety precautions are taken to avoid accidents. First, allow the grill to cool completely to prevent burns. Disconnect the propane tank and store it away from the grill. Wear heat-resistant gloves and protective eyewear to safeguard against sharp edges or cleaning chemicals. Clear the surrounding area of flammable materials and keep children and pets away. Never use abrasive cleaners or sharp tools that might damage the grill’s surfaces. Always refer to the manual for recommended cleaning products. These steps ensure a safe and effective cleaning process, protecting both you and your grill from potential harm.
Disassembling Parts for Thorough Cleaning
To thoroughly clean your Coleman RoadTrip Grill, disassemble key components following these steps. Begin by turning off the propane supply and allowing the grill to cool completely. Remove the cooking grates and flame tamers, using a wrench or screwdriver as needed. Take out the drip trays and heat shields, setting them aside for separate cleaning. For deeper access, detach the burners and ignition components, ensuring all connections are securely reattached after cleaning. Use a soft brush to remove debris from small crevices. Place all disassembled parts in a container to prevent loss. Always refer to the manual for specific disassembly instructions to avoid damaging the grill. Proper disassembly ensures a more effective cleaning process and maintains the grill’s performance.
Regular Maintenance to Extend Grill Lifespan
Regular maintenance is crucial to ensure your Coleman RoadTrip Grill lasts for years. After each use, clean the burners and ensure they are free from food debris. Check the propane hose and connections for leaks or damage, replacing worn-out parts promptly. Clean the drip trays and heat shields regularly to prevent grease buildup. Seasoning the grates after cleaning prevents rust and maintains non-stick properties. Lubricate moving parts like hinges and knobs to ensure smooth operation. Store the grill in a dry, protected area during off-seasons to shield it from harsh weather. Consistent upkeep not only enhances performance but also extends the grill’s lifespan, ensuring reliable cooking experiences for years to come.

Troubleshooting Common Issues
Troubleshooting common issues with your Coleman RoadTrip Grill ensures optimal performance and longevity. Address problems like uneven heating, ignition malfunctions, or grease buildup promptly to maintain functionality.
Addressing Lid Alignment Problems
Lid alignment issues can affect the performance of your Coleman RoadTrip Grill. If the lid doesn’t close properly, it may lead to uneven heating or heat escaping. To fix this, start by inspecting the hinges for any obstructions or wear. Tighten loose screws or bolts around the hinge area to ensure stability. Clean the lid and grill surfaces to remove grease or food residue that might be causing misalignment. If the problem persists, gently adjust the lid by lifting or lowering it until it aligns with the grill base. Regularly checking and maintaining the lid alignment ensures efficient cooking and prevents heat loss. Proper alignment is key for optimal grilling performance.
Fixing Ignition System Malfunctions
If the ignition system on your Coleman RoadTrip Grill isn’t functioning properly, start by checking the burner ports for blockages. Clean them with a small brush or toothpick to ensure proper gas flow. Next, inspect the igniter electrode for damage or food residue. If damaged, replace it with a genuine Coleman part. Ensure the propane tank is turned on and the knob is in the correct position. If the issue persists, check for loose connections between the propane tank and the grill. Tighten any fittings and test the ignition again. Regularly cleaning the ignition system and ensuring all parts are secure can prevent future malfunctions. Always refer to the manual for specific part replacements and safety guidelines.
Preventing Rust and Corrosion
To maintain your Coleman RoadTrip Grill and prevent rust and corrosion, regular maintenance is essential. After each use, clean the grill thoroughly and dry it completely to avoid moisture buildup. Apply a thin layer of cooking oil to the grates and burners to protect them from rust. Store the grill in a dry, shaded area or use a high-quality cover to shield it from rain and humidity. Avoid leaving food residue on the surfaces, as it can trap moisture and promote corrosion. For long-term storage, consider seasoning the grill surfaces with a rust-inhibiting oil. By following these steps, you can extend the lifespan of your grill and ensure optimal performance for years to come.

Advanced Tips for Optimal Performance
Master grilling with advanced techniques like indirect heat cooking, precision temperature control, and optimal food placement for even searing. Experiment with wood chips for smoky flavors and ensure proper ventilation for consistent heat distribution. Regularly clean and maintain the grill to prevent residue buildup and extend its lifespan. Always preheat the grill before cooking and use a meat thermometer for perfect doneness. Store the grill in a dry, protected area when not in use to maintain its condition and performance over time.
Using the Grill for Different Cooking Techniques
The Coleman RoadTrip Grill offers versatility for various cooking methods. For direct grilling, place food over the flames for a quick sear. Indirect grilling is ideal for larger cuts, allowing even cooking without direct heat. Experiment with smoking by adding wood chips to the grill for a smoky flavor. Achieve perfect sear marks by preheating the grill to high heat before cooking. For slow cooking, use lower heat settings and close the lid to trap moisture and heat. Always use a meat thermometer to ensure food reaches safe internal temperatures. Adjust the grill’s vents to control airflow and maintain consistent heat levels. Clean the grates before cooking to prevent food from sticking. By mastering these techniques, you can unlock the full potential of your Coleman RoadTrip Grill for delicious outdoor meals.
Optimizing Heat Distribution for Even Cooking
To ensure even cooking, preheat the Coleman RoadTrip Grill for 10-15 minutes before use. This allows the heat to distribute evenly across the cooking surface. Use the grill’s built-in heat diffusers or add a layer of foil with holes to enhance heat circulation. For larger cuts of meat, position them in the center, where heat is most consistent. Rotate food halfway through cooking to avoid hot spots. Keep the lid closed to retain heat and promote uniform cooking. Adjust the burner controls to maintain a steady temperature, especially when cooking at lower heat. Clean the grates regularly to prevent food from sticking and ensure proper heat transfer. By following these tips, you can achieve consistent results and make the most of your grilling experience.
Storing the Grill: Best Practices
Proper storage is essential to maintain the Coleman RoadTrip Grill’s performance and longevity. Always clean and dry the grill thoroughly before storing to prevent rust and pest infestation. Use a grill cover to protect it from dust and moisture. Store the grill in a dry, well-ventilated area, such as a garage or shed, away from direct sunlight. Keep it elevated to avoid ground moisture. Remove the propane tank and store it separately in an upright position, following safety guidelines. Secure any loose parts or accessories to prevent damage. Regularly inspect the grill and cover for wear and tear before storage. By following these practices, you ensure your grill remains in excellent condition for future use.
Explore further resources and enjoy your grilling adventures with confidence!
Final Thoughts on the Coleman RoadTrip Grill Manual
The Coleman RoadTrip Grill manual is an essential guide for maximizing your grilling experience. It provides clear instructions for setup, operation, and maintenance, ensuring your grill performs optimally for years. By following the safety tips and troubleshooting advice, you’ll avoid common issues and enjoy hassle-free cooking. The manual’s detailed breakdown of components and controls empowers users to understand their grill fully, whether you’re a novice or an experienced griller. With proper care and attention, your Coleman RoadTrip Grill will become a trusted companion for outdoor adventures. Happy grilling, and don’t hesitate to explore additional resources for even more tips and tricks!
Encouragement to Explore Further Resources
While the Coleman RoadTrip Grill manual provides a comprehensive guide, exploring further resources can elevate your grilling experience. Online forums, tutorial videos, and grilling communities offer valuable tips and tricks to enhance your skills. These resources often share creative recipes and maintenance hacks to keep your grill in top condition. Additionally, Coleman’s official website and customer support are excellent sources for troubleshooting and accessing updated guides. By staying informed and engaging with the grilling community, you’ll unlock new ways to enjoy your Coleman RoadTrip Grill. Embrace continuous learning to get the most out of your grilling adventures and ensure your grill remains a reliable cooking companion for years to come.